Showing posts with label 19th century. Show all posts

Gettysburg 2017, aka SEW ALL THE THINGS (part one)

I've been putting off writing up this post because there's just so much to talk about, so I've decided instead to break it up into multiple posts, to both post more than once and keep things manageable (and not overwhelming) for me.

Part One, wherein I FAIL to sew ALL THE THINGS

Yup, I'm starting on the low note here, so I can only go up from here!

37850404144_224a88ff3d_o

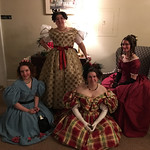
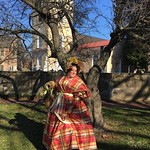
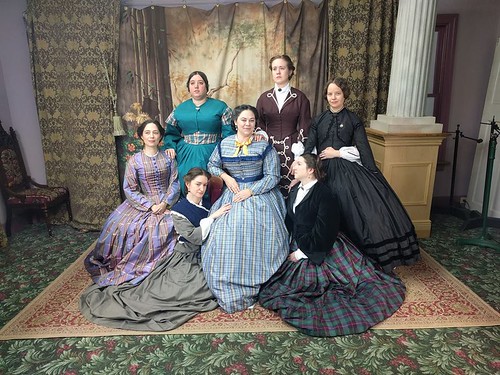
The teal dress is the least finished what I wore over the weekend, and therefore I didn't get any solo shots of it. (Plus is was raining buckets that day, not entirely conducive to good photos.)

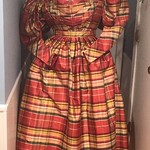
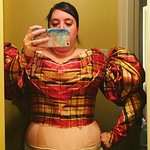
The plaid vest has no closures yet, and when I put it on it was a little tight at the bust, so I need to lower my dart points a little. The sleeve heads on the bolero need some work as well, as they wound up too full, despite me altering the pattern to allow for only 1" of ease at the head. The easing instead looks like shirring, and I don't like it at all. I just need to take the sleeves off and take them in again.

It also needs a collar and cuffs. I think what my eventual plan will be is to just make a blouse to go under it, with the collar attached there instead of to the bolero. And then if I need to I can take the bolero off and not be bare armed.

Otherwise I do like how this outfit came out! It just needs finishing. I also need to check the skirt again for staining. I wore it Saturday during the downpours, and the entire front of the skirt got soaked. That's why I'm in the back of the tintype, because on the solid fabric the wet parts were significantly darker. My hair also looks super flat in this photo, which I'm also blaming on the rain!

Coming Soon: Part Two, maybe fancy dress? TBD
How to survive an Egyptian summer

Untitled

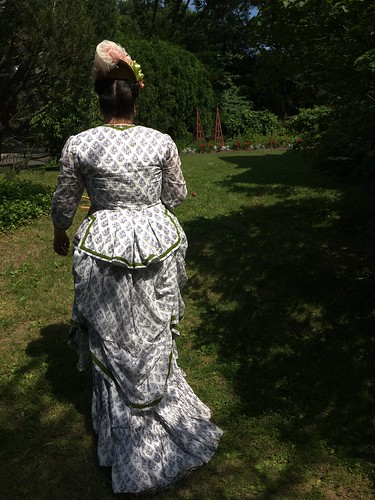
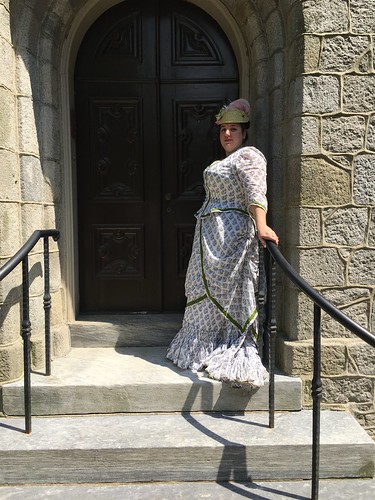
Wanting a natural form summer gown, I bought 30 yards of hand block printed cotton voile on Etsy. It was the best price, being $25 for five yards, $50 for ten yards, or $70 for 30 yards. I put almost half of it into this outfit already anyway, so it's just as well I bought that much!

 I used one of Butterick's costume patterns for the underskirt, adding a drawstring and a tie to get the natural form shape, Truly Victorian's 362 Wash overskirt, and 462 Tail bodice. Yes, those are both technically late bustle patterns, but the overskirt pattern notes mention it being in an 1882 advertisement as well, without a bustle underneath.

34401913684_338dafeee2_o

It's trimmed with a solid green cotton voile, and the skirt and bodice are flatlined with muslin. The sleeves and the overskirt are unlined, to keep it cooler.

This was first made to wear at Belvidere in September last year, and the temperatures that day reached the mid-90s, with what I'm sure was 150% humidity, because that's what New Jersey does.

I rewore it this past Saturday, at the Ebenezer Maxwell Mansion in the Germantown area of Philadelphia, for their "Old Fashioned Picnic".

Christmas 2016 in New Castle!


New Castle, Delaware does an annual Christmas ball and Dickens Day. It was very enjoyable, and called for everything new, of course. There was a (very close quarters) ball Friday night, and Saturday was spent strolling around town and visiting some of the houses, and generally looking decorative.


31559856355_928173ae2b_k New Castle 2016 New Castle 2016 30751774933_804cc915f5_k
( all the photobombs )

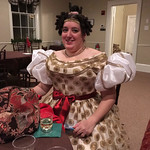
For the ball Friday evening I used a sheer and gold brocade fabric I'd picked up from ebay a while back, and made a fairly basic gown. It was narrow, only about 43", and had a railroaded stripe in the sheer ground, so I had to be very careful with the five yards I had, because I wanted as close to four yards as possible in the skirt, to avoid looking skimpy. This resulted in me not paying attention to the rounds at the center front seam and having them off, but oh well! It's not horribly distracting if you're not very close to it. Now, because I was so tight on fabric I opted to make the sleeves out of a shiny organza. So it's two layers of organza and two layers of wide hex-net. I also pinned my net sleeve supporters in there too.

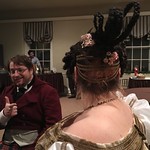
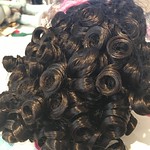
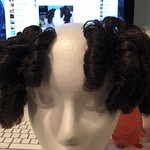
My front curls actually started out life as a cheerleader curly ponytail! The piece was large enough that I actually cut it in half, which gave me the added bonus of having the curls on each side go opposite ways. After I did that I very carefully, one curl at a time, combed the pieces out. The curls had been doused in some type of gel or spray, resulting in very stiff spiral curls. Combing them out softened them up significantly, and I was also able to wind together three original curls into one, giving me thicker and fewer curls that looked better and less wild.

Untitled Untitled
before // after

I also made the standing loop braids. The center one is a flat five strand braid, and the outer loops are one long wired three strand braid, arranged into two tall loops. I trimmed with some of the same gold lace as I used on my gown, some paper flowers, and the garnet necklace and earrings I bought in the Czech Republic on my honeymoon.

And now for Saturday!

Saturday's dress was probably my favorite thing I've made in the past couple of years. I absolutely loved it all. Here's the rundown:

New Castle 2016

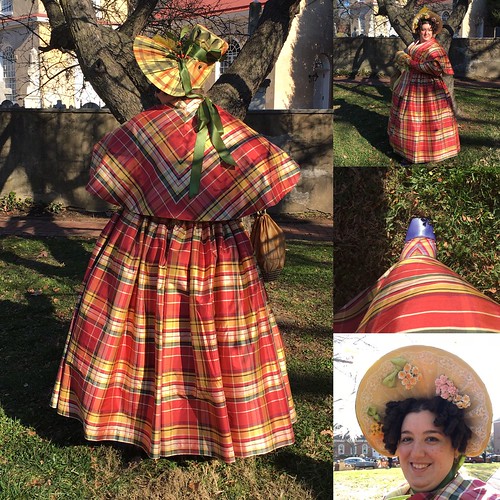
This magnificent outfit included FOUR different plaids. Yes, four. My gown and pelerine were plaid #1. My bonnet and muff were plaid #2. My shoes were plaid #3, and the base of my reticule was plaid #4. I wanted all the clashy goodness.

31412926022_5062bd1a34_k New Castle 2016 Untitled Untitled

The Sleeves!

Untitled Untitled

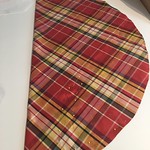
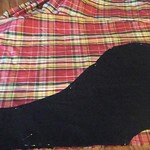
The sleeves are absolutely massive and floofy and crazy fun. This blogger posted about a circular sleeve pattern from the 1838 Workwoman's Guide, which is available in it's entirety through Google Books. (My pelerine pattern came from the Guide as well.) Basically you cut a giant circle. I believe mine was 34" or so. I folded it in half, offsetting it so that the lower sleeve would be on the bias, and drew a curved line up from the wrist to were the elbow would be. It's easier to see on the second image. I slit it open and then sewed the underarm seam. Cutting this sleeve gives you practically a full circle sleeve at the top, and a tight fitted lower arm, with no seam at the elbow. It was very easy to make, and looks fantastic. I have just one tweak to make to it before I wear this again. I discovered at the tea I had major t-rex arms going on. Luckily because of how the underarm seam is made, I can easily lengthen it but just slitting it a little further and sewing it up, and I can add an inch or so to give me greater arm movement.

Bonnet!

Untitled Untitled Untitled Untitled Untitled

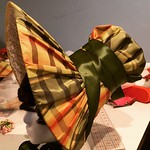
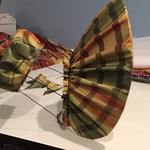
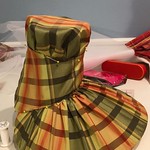
My bonnet is a mashup of the two different views of Lynn McMaster's 1830s pattern. I wanted the high crown of view A with the round brim of view B. It's basically impossible to see in the pictures, but the brim for view A dips down past the crown and then curves back, kind of the way an 1860s spoon bonnet brim does. Basically it goes further down and around the chin of the wearer, and I didn't want that here.
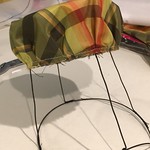
In constructing this bonnet, I only used buckram in the brim, to stabilize the silk there. The crown is just wire for structure. I wanted to keep this bonnet as light as possible, as it is quite a large piece of headwear. As a side note, these giant brims look utterly ridiculous when you don't have the hair to fill them.

Pelerine!

Untitled Untitled Untitled

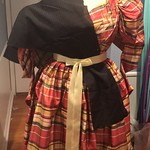
The pelerine was pretty quick and easy. Using a diagram from the Workwoman's Guide I just draped some scrap fabric over my dress until I got a shape I liked. I wanted the back on the bias and the front on the straight to further show off the plaid. It's made with the plaid on the outside, two layers of cotton flannel for warmth, and a cream silk taffeta for lining. Currently it doesn't have any closures, but I might add a hook or two in the future just to stabilize it, because I like it best crossing the fronts over at the waist, with a ribbon sash to keep it in place.

 
And there you have it!